Introduction
A project is a way for you to group together Participants that take part in a development or selection process. You can enable one or more Lumina products in each project, along with other project-specific settings.
Every time you run a new development or recruitment process, we recommend that you create a new project. This allows you to keep your data organised.
How to create a project
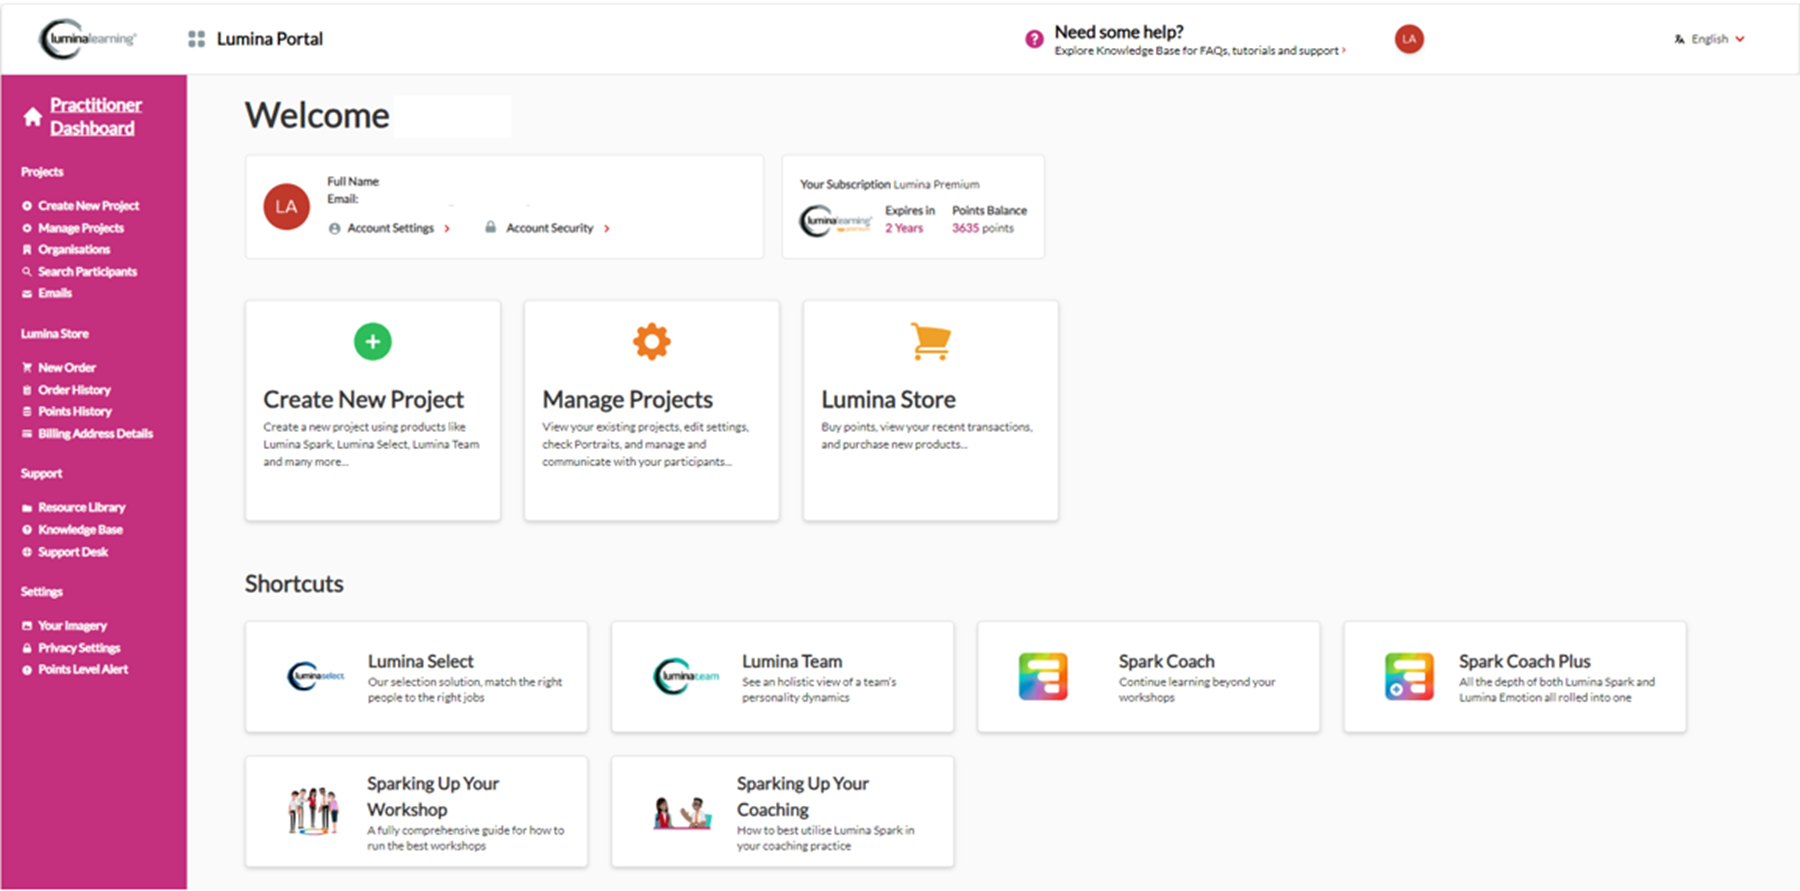
- Go to your Practitioner Dashboard (for full instructions, click here).
- Select Create New Project in the left-hand menu.
- Your existing projects are shown in a list. To create a new project, select the button with a plus sign (+).
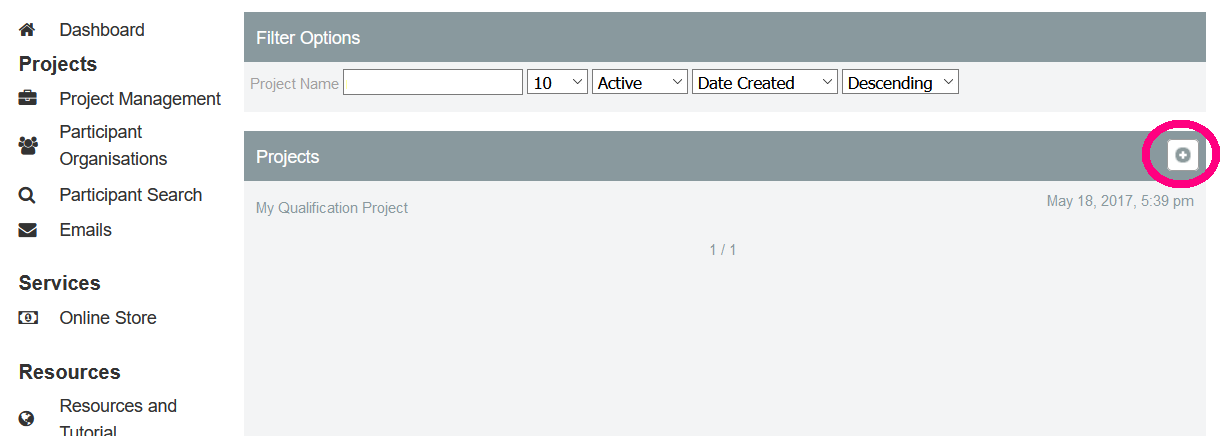
- You will be guided through a step-by-step project creation wizard.
- Enter a project name, then press the next button.

- Choose a project start date and time and PDF release date.
- The project start date is the date on which you intend to deliver Portraits to Participants. This is a reference date visible to both you and Participants.
- The PDF release date is the date on which Participants in your project will be able to sign into their account to access their portraits.

- Select at least one organisation from your list of available organisations.
The selected organisations will be displayed to Participants when they register, before they complete their questionnaire. This is a way for you to group your Participants together and make it easier to find them later.
- Select the products you wish to enable in the project. The corresponding questionnaires will be made available to your Participants.
- Select the language in which you want the portraits to be generated.
You can choose a primary and a secondary language. Portraits will automatically be generated in both languages. If you only use one language, set both options to the same language. - Select the required norm. The selected norm will adjust Participants' scores to reflect the circumstances under which they are completing the questionnaire.
- High Stakes Norm: use when the Participant is taking part in a recruitment or selection process.
- Standard Norm: use in most other scenarios, such as development contexts.

- OPTIONAL - Enable Scheduled Delivery if required.
As Scheduled Delivery involves automatic points payments, please refer to the article below for a full overview of this feature:
https://support.luminalearning.com/scheduled-delivery
- Enable email notifications, if required. You can choose two options:
- Notify me when users complete questionnaires: if you select this option you will be notified every time a Participant submits a completed questionnaire.
- Notify me when new downloads are available: if you select this option you will be notified every time a new Portrait is available for you to download. This occurs typically a few minutes after the Participants completes the questionnaire.

- Notify me when users complete questionnaires: if you select this option you will be notified every time a Participant submits a completed questionnaire.
- You have now created your project! Click Open Project to go to your Project.

Next step: after you have created a project, you can invite Participants to join the project to complete tasks and questionnaires by following these steps.