
Learn how to use the Scheduled Delivery feature to send email notifications to your Participants when their portraits are ready to view.
Scheduled Delivery replaced Instant Delivery for all projects created from July 2020 onwards.
Contents
- When are points deducted when using Scheduled Delivery?
-
Interaction between Scheduled Delivery and 'Date & Time PDFs released for download'
Overview: Scheduled Delivery explained
Scheduled Delivery allows you to notify your participants by email when their portrait is ready to view or download. This email contains a link that allows participants to sign into their account and view their portrait. Optionally, you can attach the participant's portrait to the email.
Scheduled Delivery is configured separately for each project.
How to enable Scheduled Delivery
Scheduled Delivery can only be used with some products. A list of supported products is available in your project's settings tab.
Scheduled delivery must be enabled before a participant completes their questionnaire. After this point, language and date/time settings can't be updated.
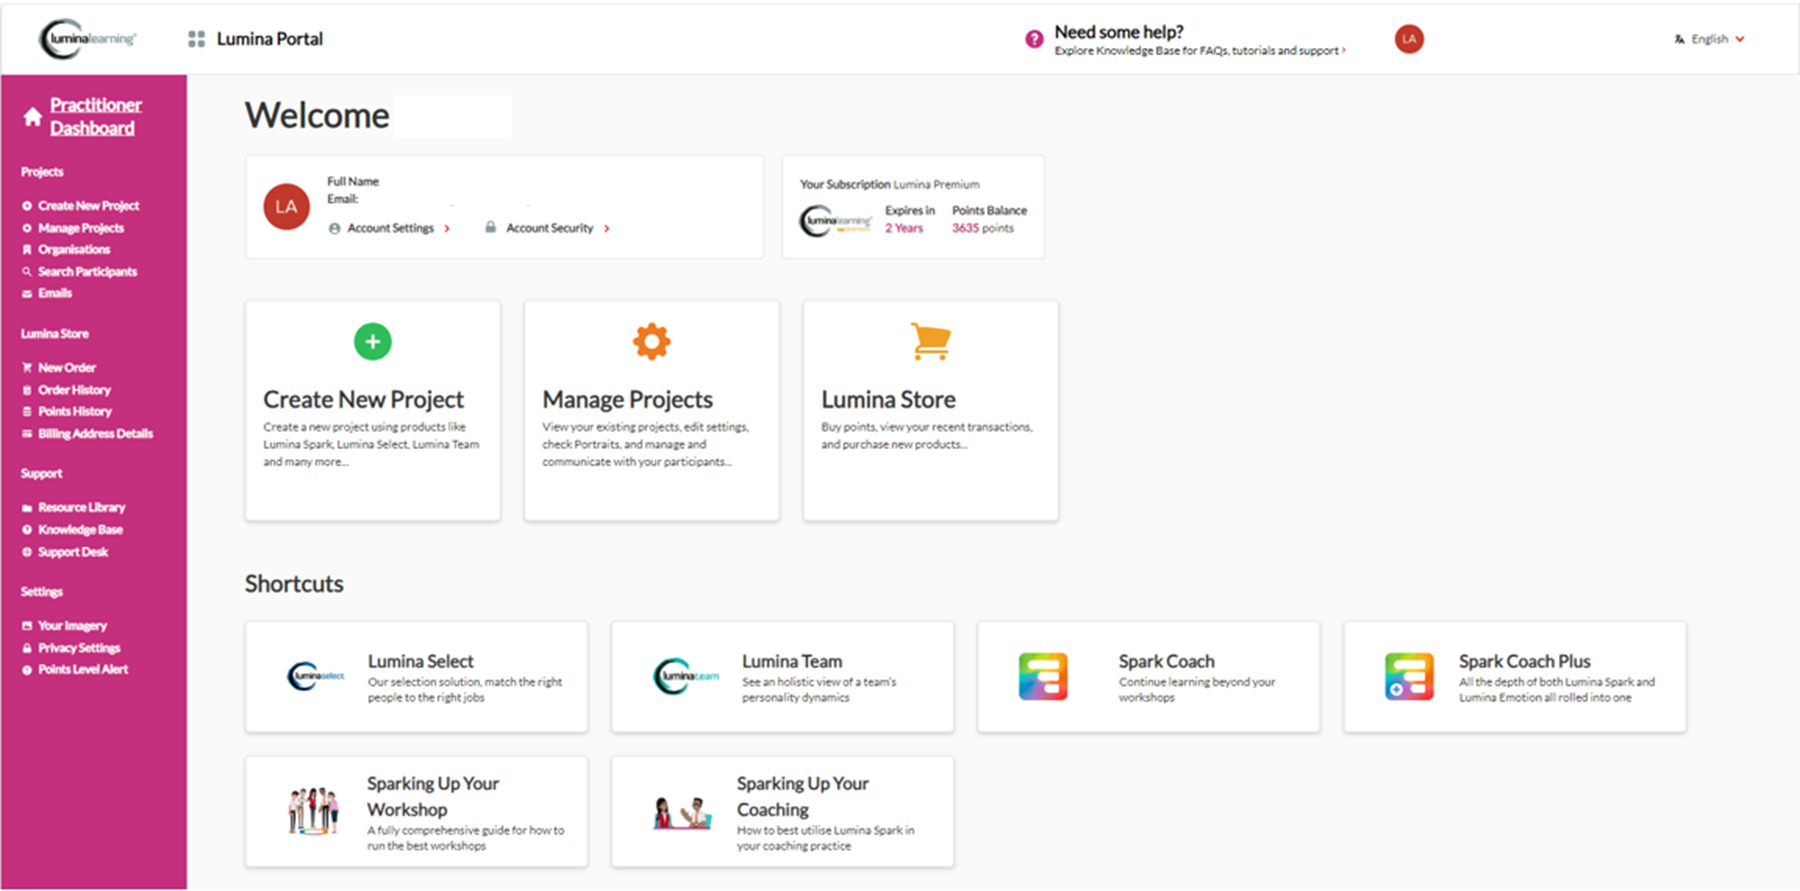
- Go to your Practitioner Profile dashboard (for full instructions, click here).
- Select Manage Projects in the left-hand menu.
- Choose your project from the list.
- Go to the Settings tab in your project and scroll down to the Schedule Portrait Delivery section.
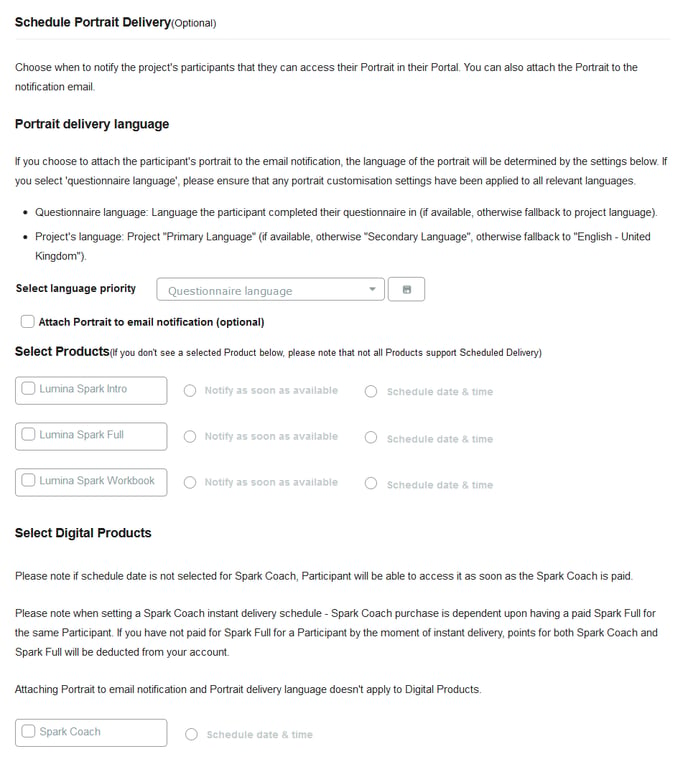
- Select the language in which the participant's portrait will be available. Choose one of the following options from the drop-down list:
- Questionnaire language: the language in which the participant completes the questionnaire
- Project language (recommended): the primary language you have selected in your project's Settings tab (the portrait will not be available in your project's secondary language).
- To attach the participant's portrait to the email sent to them, tick the box labelled Attach Portrait to email notification.
- Select which products your participants will have access to by ticking the box next to the product name. If a product is not listed, it means that Scheduled Delivery does not support that product
- For each product, choose when to send an email to participants. Use the radio buttons to choose one of the following options:
- Notify as soon as available: each participant will be sent an email as soon as their portrait has been generated, typically 5-10 minutes after the participant completes the questionnaire.
- Schedule date and time: choose a future date at which each participant will be sent an email. This date and time is in your local time, determined by the time zone selected in your Practitioner area. Please click here for more information.
Please note, the only option available for digital products is Schedule date and time. - Press Submit to save your settings.
When are points deducted when using Scheduled Delivery?
When Scheduled Delivery is enabled, points (the online credit used to access portraits) are deducted once the portrait has been generated. This is true even if the portraits are scheduled to be sent at a later date.
Interaction between Scheduled Delivery and 'Date & Time PDFs released for download'
Each project also has a 'Date and Time PDFs released for download' setting, which is the date on which your Participants can sign back into their Lumina Account to access their portraits.
If Scheduled Delivery is enabled, it overrides 'Date and Time PDFs released for download'. For example, if the date and time for PDF release is 20th January and Scheduled Delivery is set to 10th January, your Participants will be able to sign in to their account to download portraits on 10th January.Update the time zone used for Scheduled Delivery
If you select a time and date for Scheduled Delivery, email notifications will be sent at your local time, according to the time zone settings in your account. You can review your time zone settings by following these steps:
- Go to your Practitioner Profile dashboard (for full instructions, click here).
- Select Account Overview in the left-hand menu.
- Select the View Personal Details button.
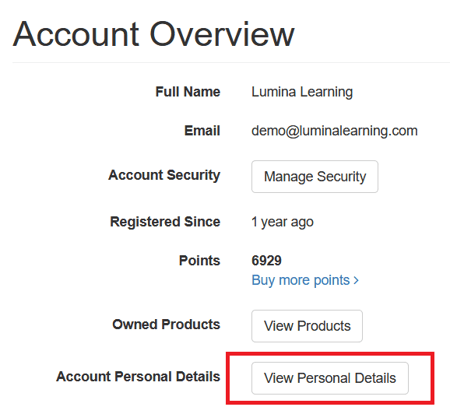
- Scroll down to the Local Information section.
- Select your time zone from the Time Zone drop-down list. After you make a selection, your changes will automatically save.
